html
Duck Dung Aroma Dancong Oolong Tea: A Unique and Fragrant Delight
When it comes to premium Chinese teas, few varieties are as intriguing as Duck Dung Aroma Dancong Oolong Tea. Despite its unusual name, this tea offers a complex and delightful flavor profile that has captivated tea enthusiasts worldwide.
What is Duck Dung Aroma Dancong Oolong Tea?
Duck Dung Aroma Dancong (Ya Shi Xiang Dan Cong) is a high-quality oolong tea from Guangdong Province’s Phoenix Mountain region. The name “Duck Dung” might sound off-putting, but it actually refers to the tea’s unique aroma rather than its ingredients. This tea contains no actual duck dung – the name comes from local farmers who noticed its fragrance resembled that of the wild orchids growing near duck ponds.
The Unique Characteristics
This special Dancong oolong stands out for several reasons:
- Aroma: Features a distinctive floral fragrance with notes of orchid, honey, and tropical fruits
- Flavor: Complex taste profile with layers of floral, fruity, and mineral notes
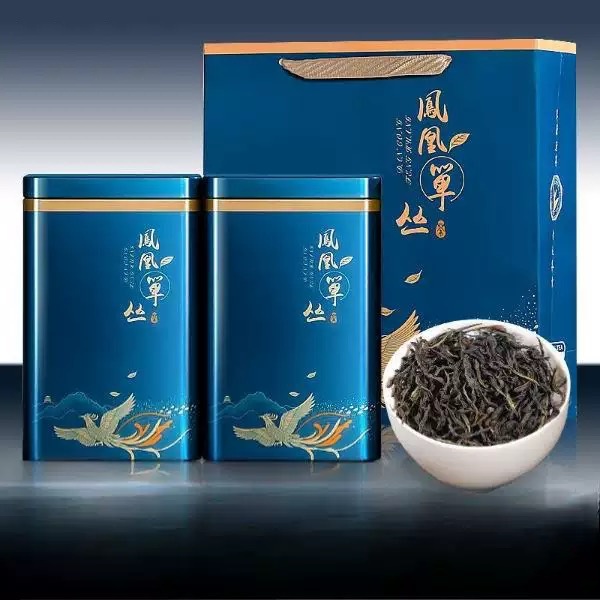
- Appearance: Long, twisted leaves that unfurl beautifully during brewing
- Aftertaste: Long-lasting huigan (sweet aftertaste) that lingers pleasantly
Brewing Recommendations
To fully appreciate Duck Dung Aroma Dancong Oolong:
- Use 5-7 grams of leaves per 100ml water
- Heat water to 90-95°C (194-203°F)
- First infusion: 10-15 seconds
- Subsequent infusions: increase time by 5-10 seconds each round
- Can be steeped 8-10 times with good quality leaves
Keyword: Duck dung fragrant DancongOolong Tea
Health Benefits
Like other high-quality oolongs, Duck Dung Aroma Dancong offers numerous health benefits:
- Rich in antioxidants that may help combat free radicals
- Contains polyphenols that support heart health
- May aid digestion and metabolism
- Provides a gentle caffeine boost without jitters
Where to Find Authentic Duck Dung Aroma Dancong
When purchasing this unique tea, look for reputable vendors specializing in Chinese oolongs. Authentic Duck Dung Aroma Dancong should have:
- Clear origin information (preferably from Phoenix Mountain)
- Whole, intact leaves rather than broken pieces
- A pronounced natural floral aroma
- Reasonable pricing (extremely cheap options are likely fake)
Despite its unusual name, Duck Dung Aroma Dancong Oolong Tea represents one of the finest expressions of Chinese oolong tea craftsmanship. Its complex aroma and flavor profile make it a must-try for any serious tea connoisseur looking to expand their palate with unique and memorable tea experiences.